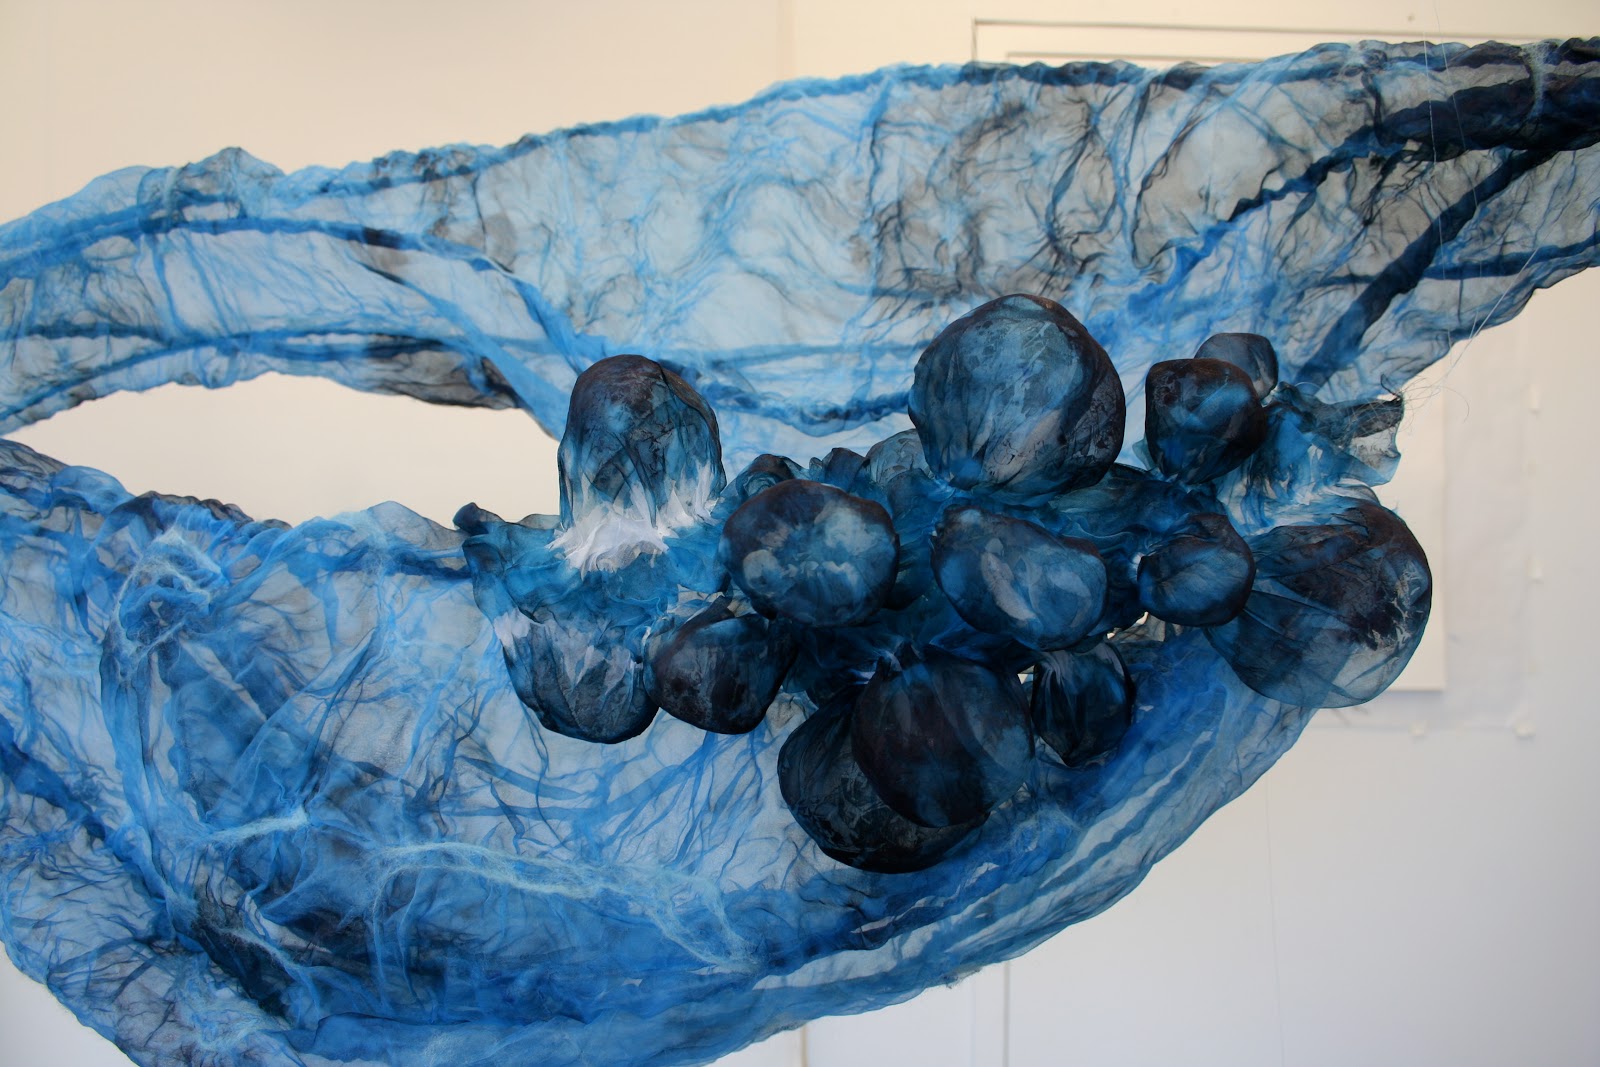
Wednesday, July 28, 2010

Marbleized Paper

I love marbleized paper but never really had much luck when I tried to make it in the past. I recently stumbled across the directions in a book for children's crafts so I thought I'd give it another try. The directions said to thin oil paint down with paint thinner and drip a few drops of a couple colors in the water, drag a toothpick though it to make designs and carefully lay the paper down to pick up the paint. Sounded easy so I played with it a bit in my studio. At first I had the paint too thin the directions said the consistency of cream so eventually I got it right. I wore gloves to lift the paper up after it touched the paint floating on the water. The results were beautiful. I let them dry and then brought them home but noticed they smelled strongly of oil paint and thinner even though I used Turpenoid instead of regular paint thinner.

IMG_1629.JPG


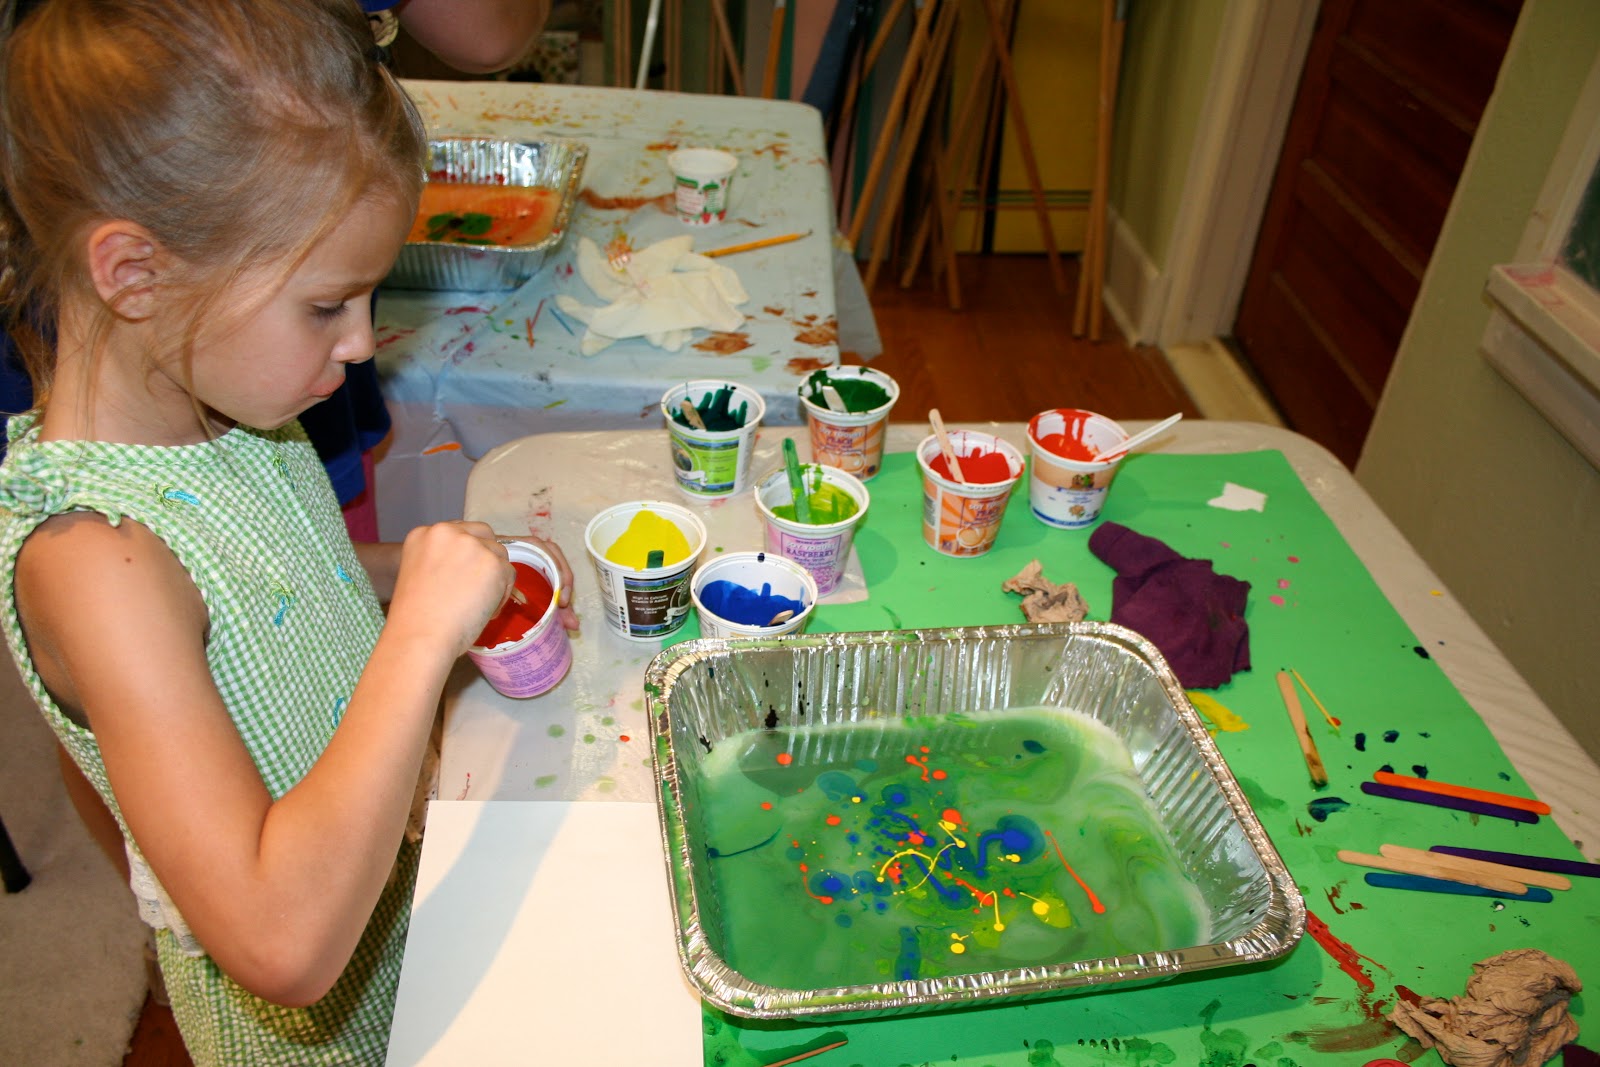
Then my assistant Jeanne gave me a kit with supplies that were non toxic and water based. That prompted me to do an internet search and I learned about a method that uses liquid starch and watered down acrylic paint. Beautiful! I couldn't wait to try it. It worked really well once I got the paint to the right consistency. Now the kids could pull the paper up by themselves without having to worry if they got it on their hands and it smelled great, like fresh laundry.
IMG_1539.JPG


Here's Shannon showing us the beautiful results. The kids loved it. I read that you should wash the starch off so we passed the prints though a tray of water after letting them dry a bit. I also just read that a 1/2 teaspoon alum mixed into 2 cups of starch helps the paint to adhere to the paper. I'll try that next time.

IMG_1544.JPG


IMG_1550.jpg


Sidney's using some tools from the kit to make patterns in the paint.

I started with a color story for each tray like red, yellow, orange in one tray and blue, green and purple in another tray.
IMG_1549.JPG


IMG_1551.JPG


This is April experimenting with all the colors.
I was worried that the starch would become too saturated with paint to be used but some of the paint sunk to the bottom and I freshened up the top with a bit more starch as needed. We were able to keep the same trays going for 3 hours.

IMG_1594.jpg

Sunday, July 11, 2010

ACRA

ACRA stands for Arden Community Recreation Association. This association was founded in 1948, and provides recreational, educational and social activities throughout the year to residents of the three Ardens. The summer program is free to children 3 years old though entering 8th grade. The summer program, which runs Monday through Friday from 9:30 to 12:30, provides sports activities, a game room, outdoor free play, art and music, field trips and many visiting artists from the community as well. Freedom of choice reigns at ACRA and children are allowed to go from activity to activity as their free spirits move them.

In the art room we provide fun art experiences daily. One experience I wasn't expecting this week was when I went to the shed to get supplies I was stung not once but twice by a very angry wasp. I apparently disturbed a nest above the door of the shed and the irate insect stung my finger and then on second pass dove right into my face and stung my eyelid. Ouch, is not all I yelled, believe me. So everyone on staff helped me set up the art room for junk art day as I barked orders while holding an ice pack on my eye. The kids didn’t seem to notice that anything was amiss as they plowed past me to get first dibs on the best junk and be first in line to use the hot glue guns. I was stung on Thursday but my finger and eye didn’t really swell until 2 days later. I’m having trouble typing this with one explosively fat finger and one eye swollen almost shut!

I love these junk people the kids made.

IMG_1553.JPG


IMG_1556.jpg


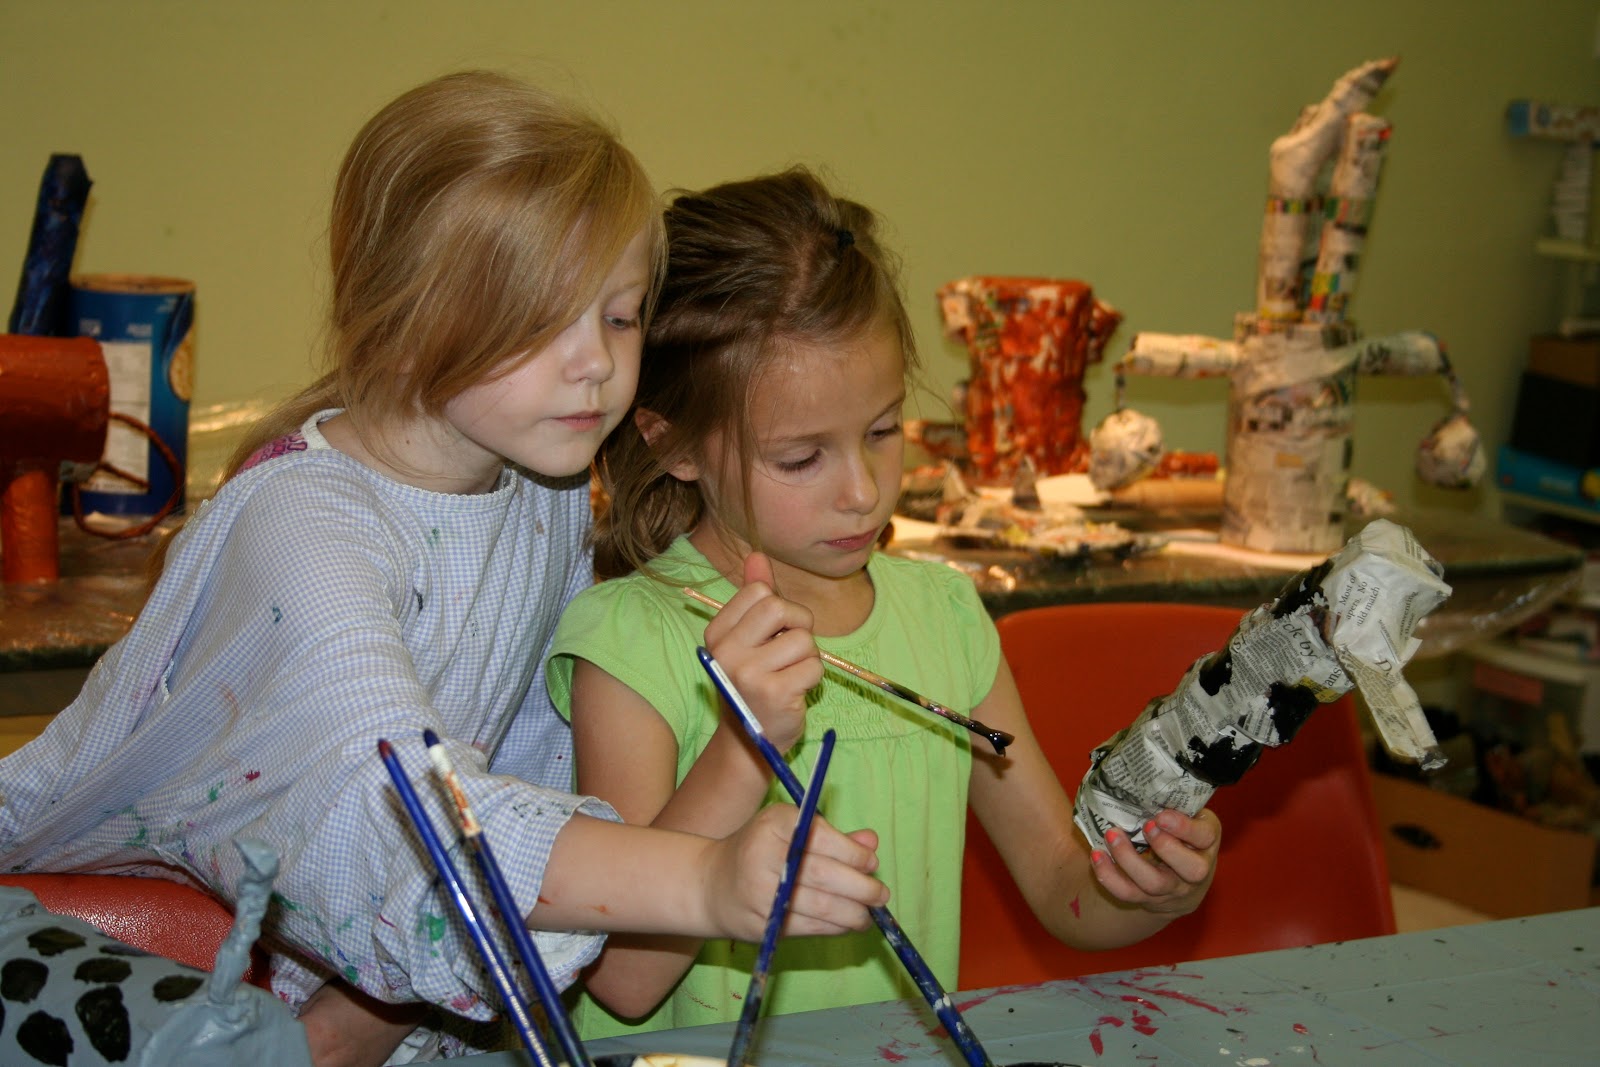
They make me smile and remind me why I like being the art director at ACRA. My job is to put out supplies, make suggestions, be ready to assist as needed and know when to step back as their creativity revs up to warp speed and takes off. I often forget to take pictures as I mentioned last post but here are some of the kids working on their papier mache projects last week.

IMG_1498.JPG

Shannon and April

IMG_1500.JPG

Phoenix, Madi, and Shane

IMG_1502.JPG

Maddie and Riley

Tuesday, June 29, 2010

Remember the Ice

I'm in my second week working as the art director at Arden Community Recreation Association, Summer Program here in Arden. Last week we made spin art, dot art, our own art journals and printed leaves on fabric to make into pillows. Wow, and today we started papier mache. I will post pictures soon. I guess after I take some. I usually don't have a break in the art making frenzy to take any photos. At one point today I had to count how many kids were in the room and it was close to twenty. They're hard to count because they move, kind of like the fish in my pond. I came home exhausted today and took a long nap. It's only Monday, God help me!

Since it's been brutally hot lately I thought I'd take a moment to remember the cold winter storm, which I personally loved and thought was beautiful. While I was busy preparing the diptych and sculpture that comprised my June show I also painted 3 smaller canvases. These are 24 x 24 inches and were started on a black acrylic ground. The inspiration was icicles on shale walls that I always see along the highway to Syracuse, NY and some ice I photographed during our winter storm.
IMG_1260.JPG

Rocky Shore, oil on canvas

IMG_1264.JPG

Shale and Ice, oil on canvas

IMG_1268.JPG

Layers, oil on canvas

Meagan Mika, an intern at the DCCA this summer has started a blog about the DCCA. She interviewed me a few weeks back. She wrote a really thoughtful post about my show and other work she saw in my studio, thanks Meagan. She happened to mention these canvases, in particular the one with rust in the composition that I titled, Shale and Ice. She stated that it was quite possibly her favorite piece.

Thursday, June 17, 2010

Crash, Hush... Exhibition

There's still time to see my new work in person at the Delaware Center for the Contemporary Arts. The show continues through June 27th in the Elizabeth Denison Hatch Gallery. Here's an installation shot taken by my talented friend Carson Zullinger, an amazing photographer.

Celestian 9494.jpg


There's a favorable review of the show on The Hunt Magazine website.

I experienced the post show blues for a few days after the opening. This is a completely normal let down after the final push of installing a show and everything that goes into promoting it. Even though I should expect this mood swing, it was difficult especially with everything else I had going on with my kids. I cleaned my studio for the opening so I took a few photos before it inevitable returns to it's normal chaotic, working state. "Where did I put the hammer I was just using?"
Linda Celestian Studio Table.jpg

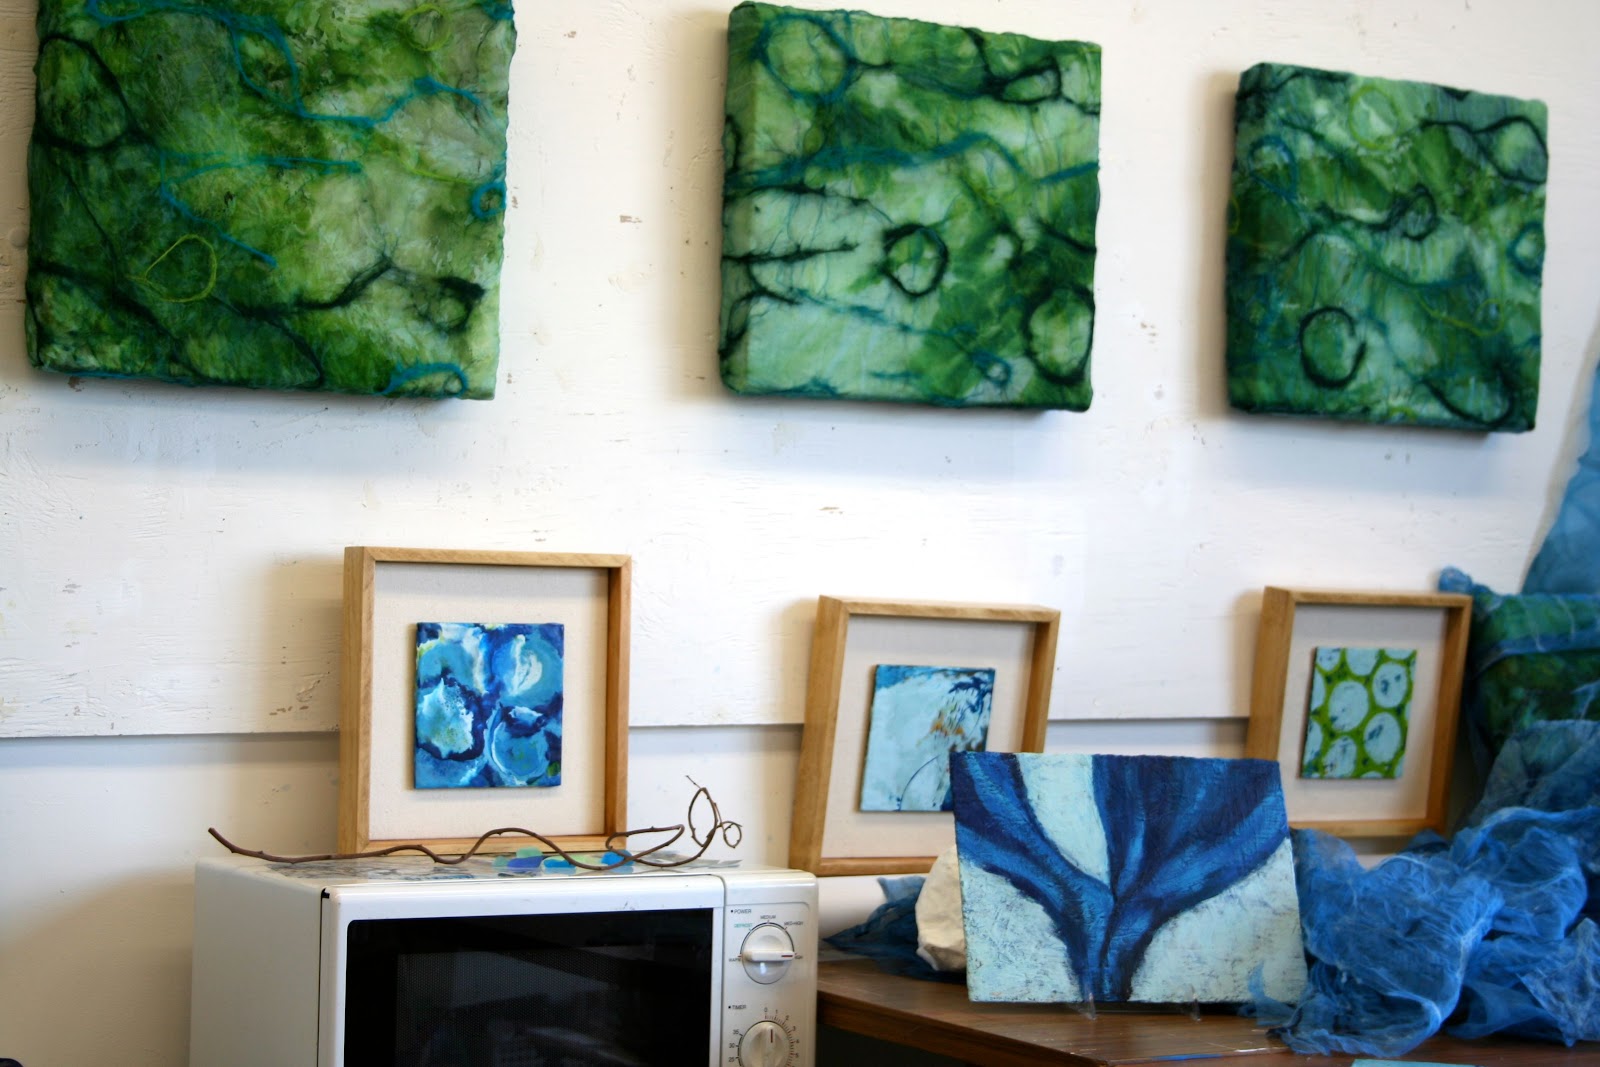
Inspiration, fiber work and encaustic paintings.

Linda Celestian Studio shot.jpg

Fiber pieces, encaustic paintings and silk remnants.

I've accomplished quite a bit since September and should feel proud of it but I'm never comfortable to sit back and relax. On Sunday I experienced some severe nerve pain in my neck that sent me to the urgent care medical center. I guess that was my body saying "slow down". I'm busy ordering supplies and planning projects for my summer job as an art director at a camp that starts on Saturday. Meanwhile I'm still plotting how to get one more painting finished before my summer deadlines. I guess "slow down" just isn't in my vocabulary.

Tuesday, June 1, 2010

Upcoming Show

It's June and I'm installing my show with Kyle Ripp tomorrow in the Elizabeth Denison Hatch Gallery, at the Delaware Center for the Contemporary Arts. Here's a teaser.
IMG_1375.JPG


IMG_1365.JPG


I went back and forth on whether I should paint the wall blue behind it.
IMG_1395.JPG


I have decided to install it and then decide but I think I'm NOT going to paint the wall. I want it to be viewed from as many angles as the space allows and not just from head on.
IMG_1384.JPG


I will know when I get it installed whether I've made the right choice. Since this is my first time showing sculpture in a gallery it's been really hard to visualize it. I'm also working on a sound component which will be available for listening on a personal player with headphones, another first for me.


Here is a detail from the painting also included in the show.


IMG_1152.JPG


Title: "Crash, Hush..." 48 x 92 inches (diptych).

The opening is this Friday, June 4th, 5:30 - 9 pm. I'll be giving an artist's talk starting with the piece I have included in the member's show NEW juried by Roberta Fallon and ending in the Hatch Gallery. The talk will be sometime between 6:30 and 7:00.

Tuesday, May 25, 2010

Bahdeebahdu

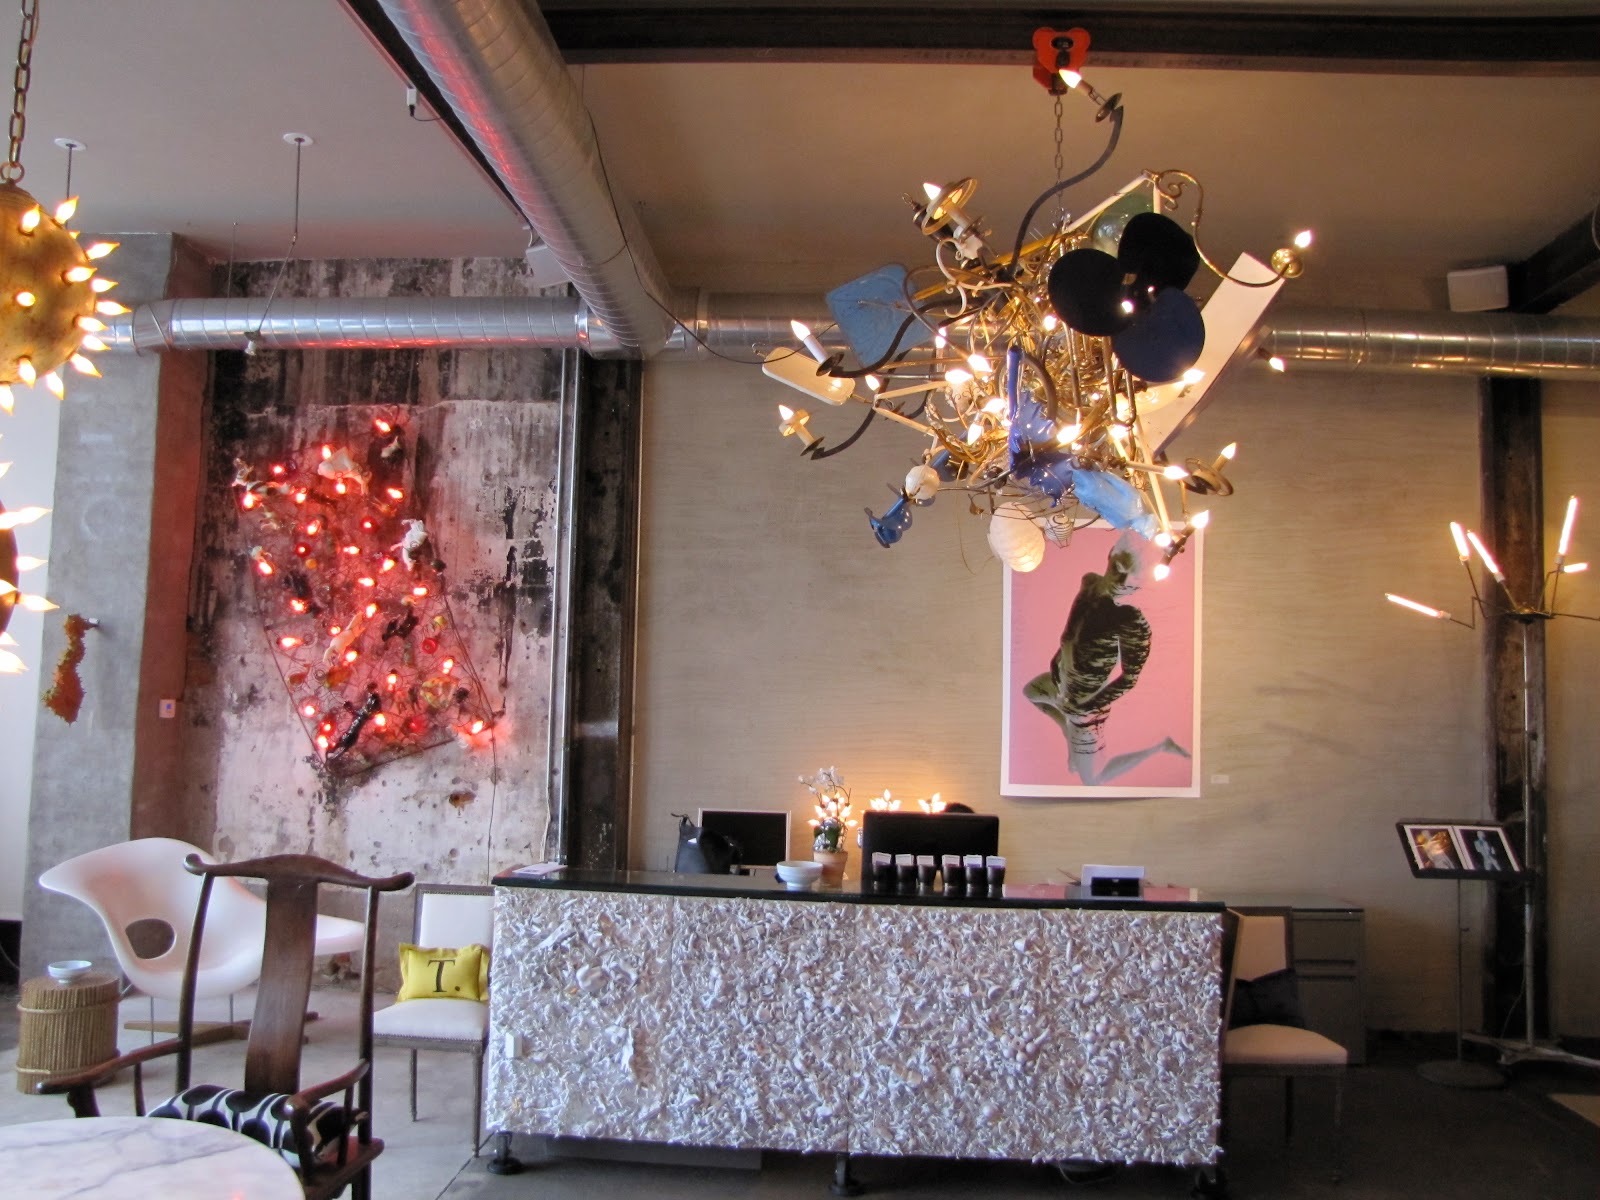
Bahdeebahdu, is a working studio for design and the development of art, sculpture and furnishings at 1522 N. American St. in Philadelphia, PA. I don't know the story behind the name but I know I like it. The website makes it look like an interesting place so I put it on my list when my sister and I set out to gallery hop in Philly. I didn't just like the space, I loved it. We were there on a rainy day in April and it was the highlight of our trip. One of the owners RJ, was very welcoming and let me take pictures.

The reception desk is covered with toys mostly painted white.

IMG_0087.JPG


Here's a close up. Wow!

IMG_0068.JPG


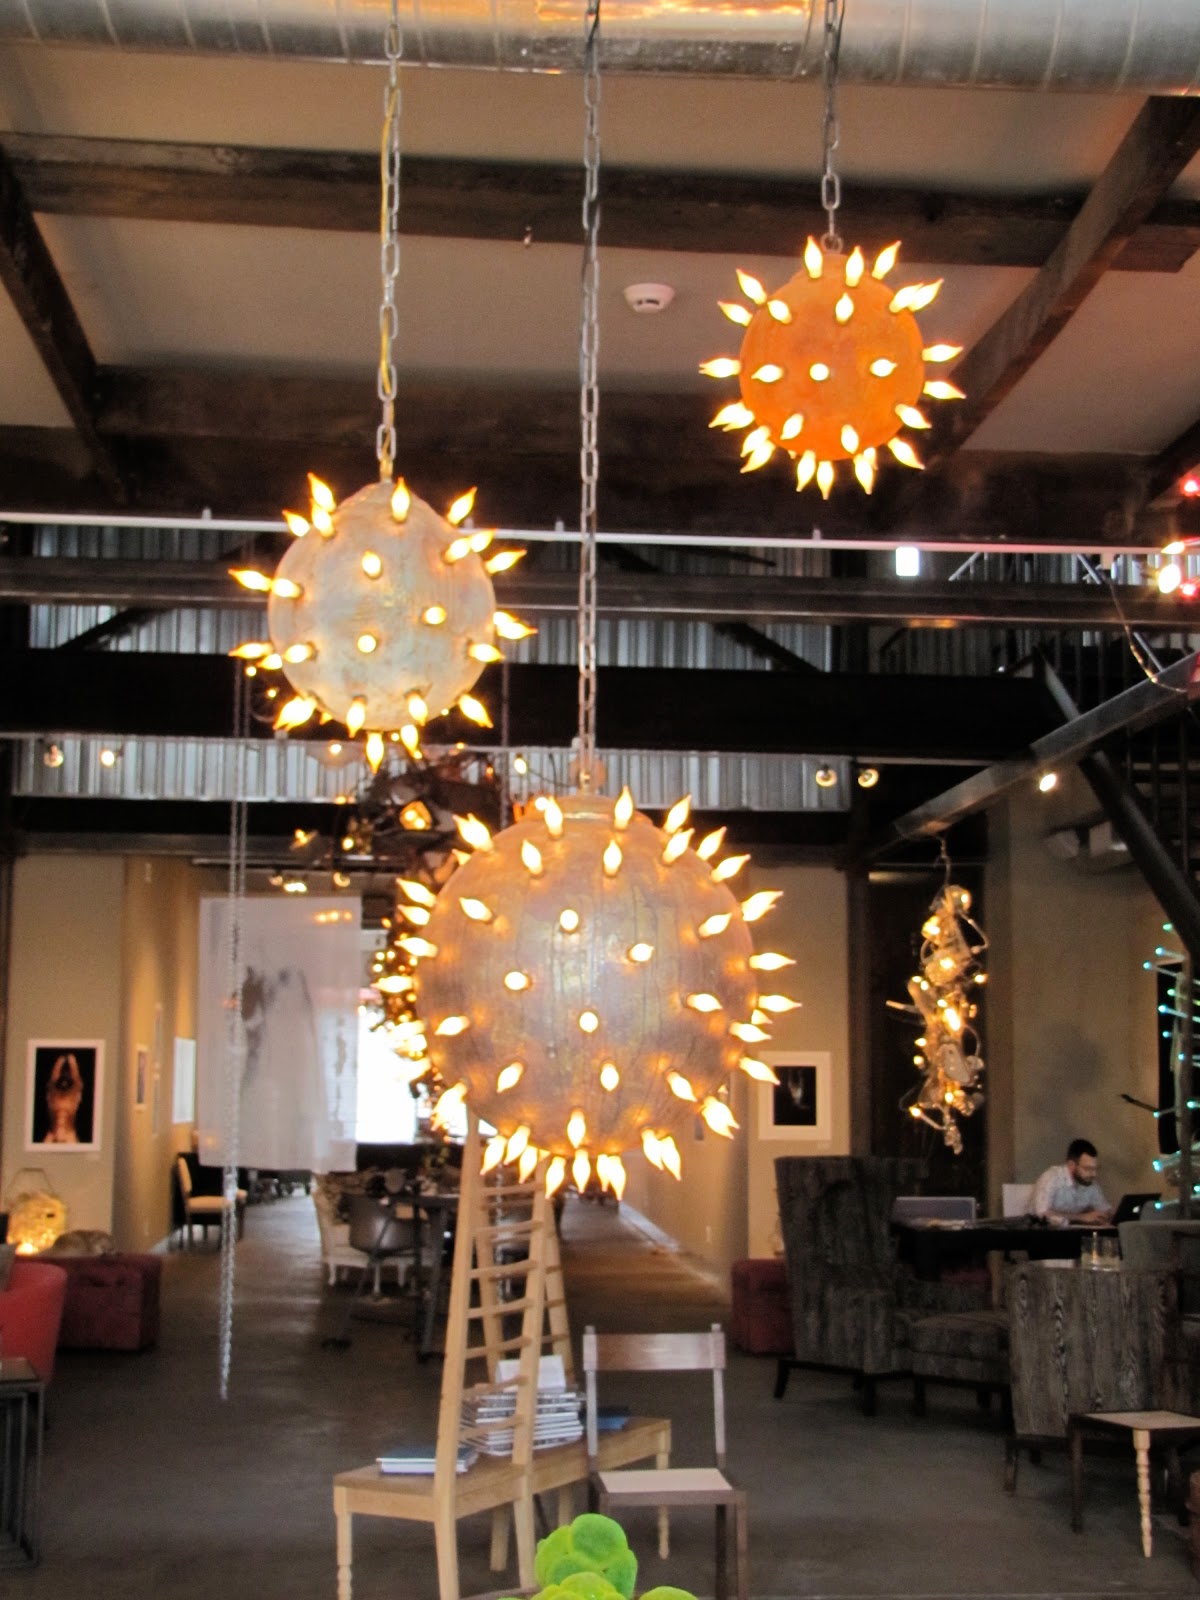
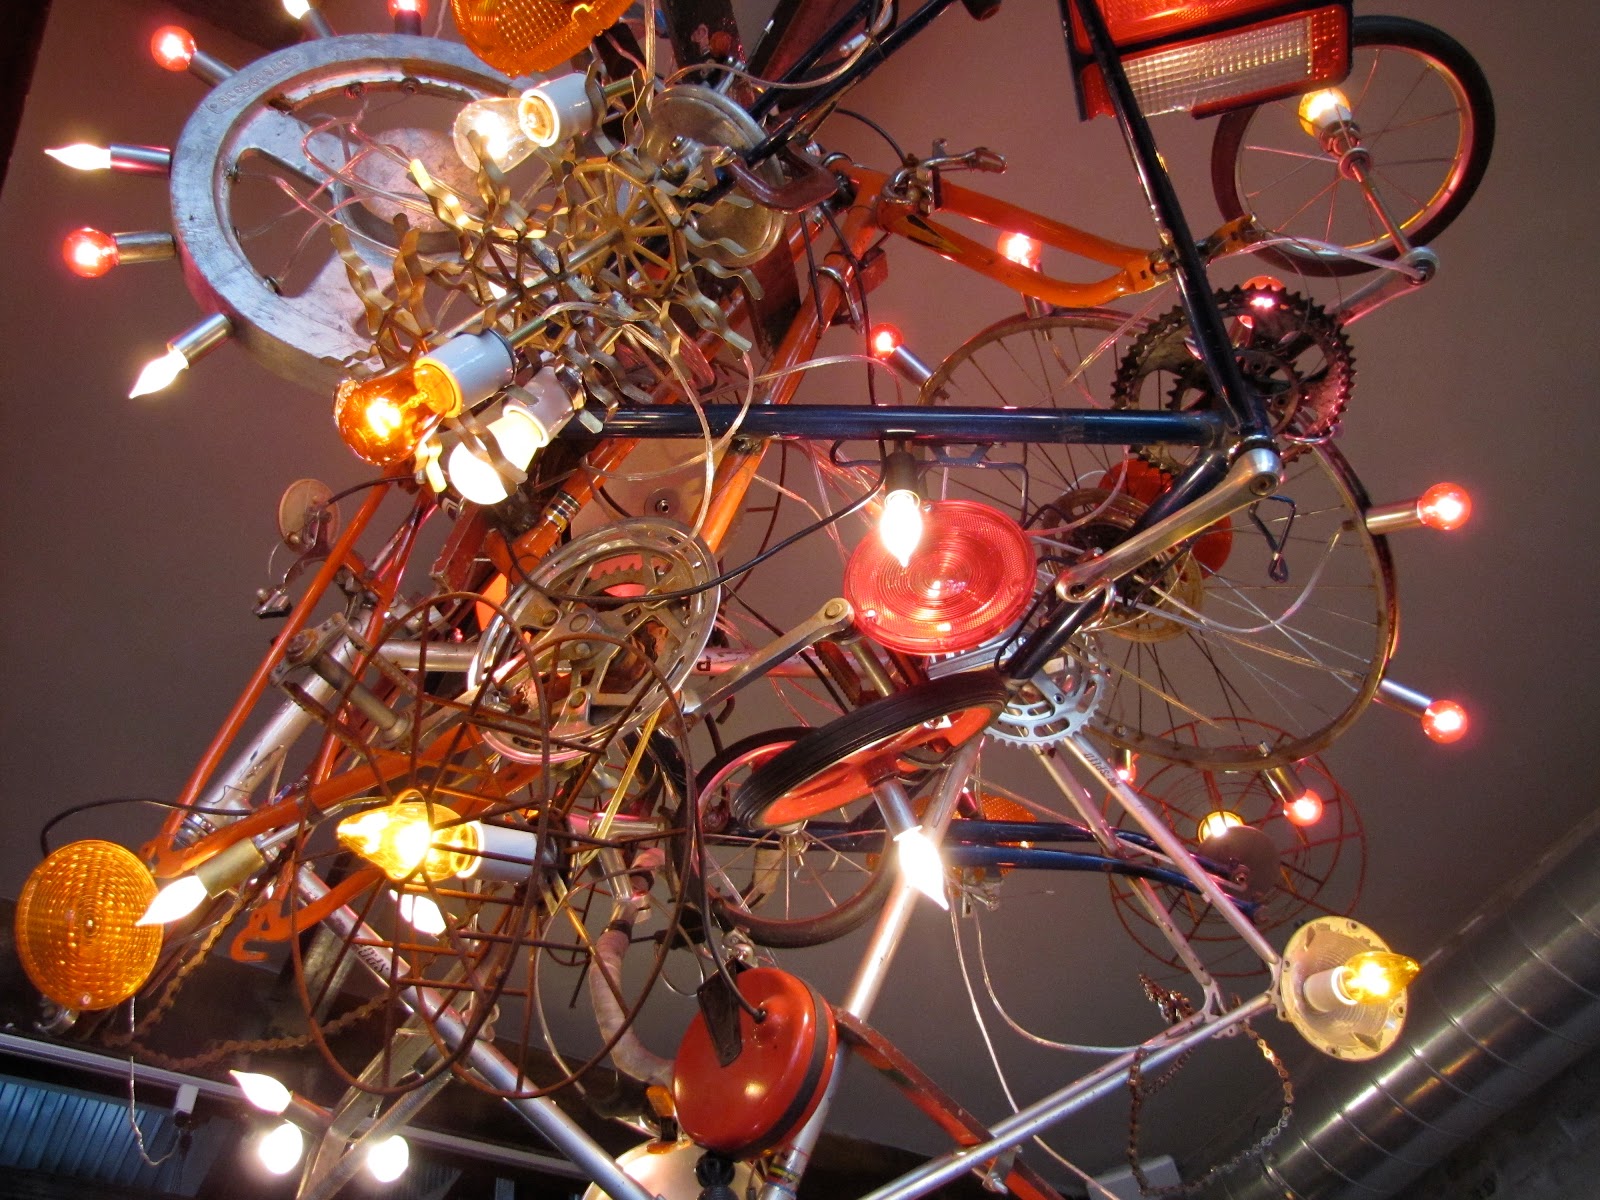
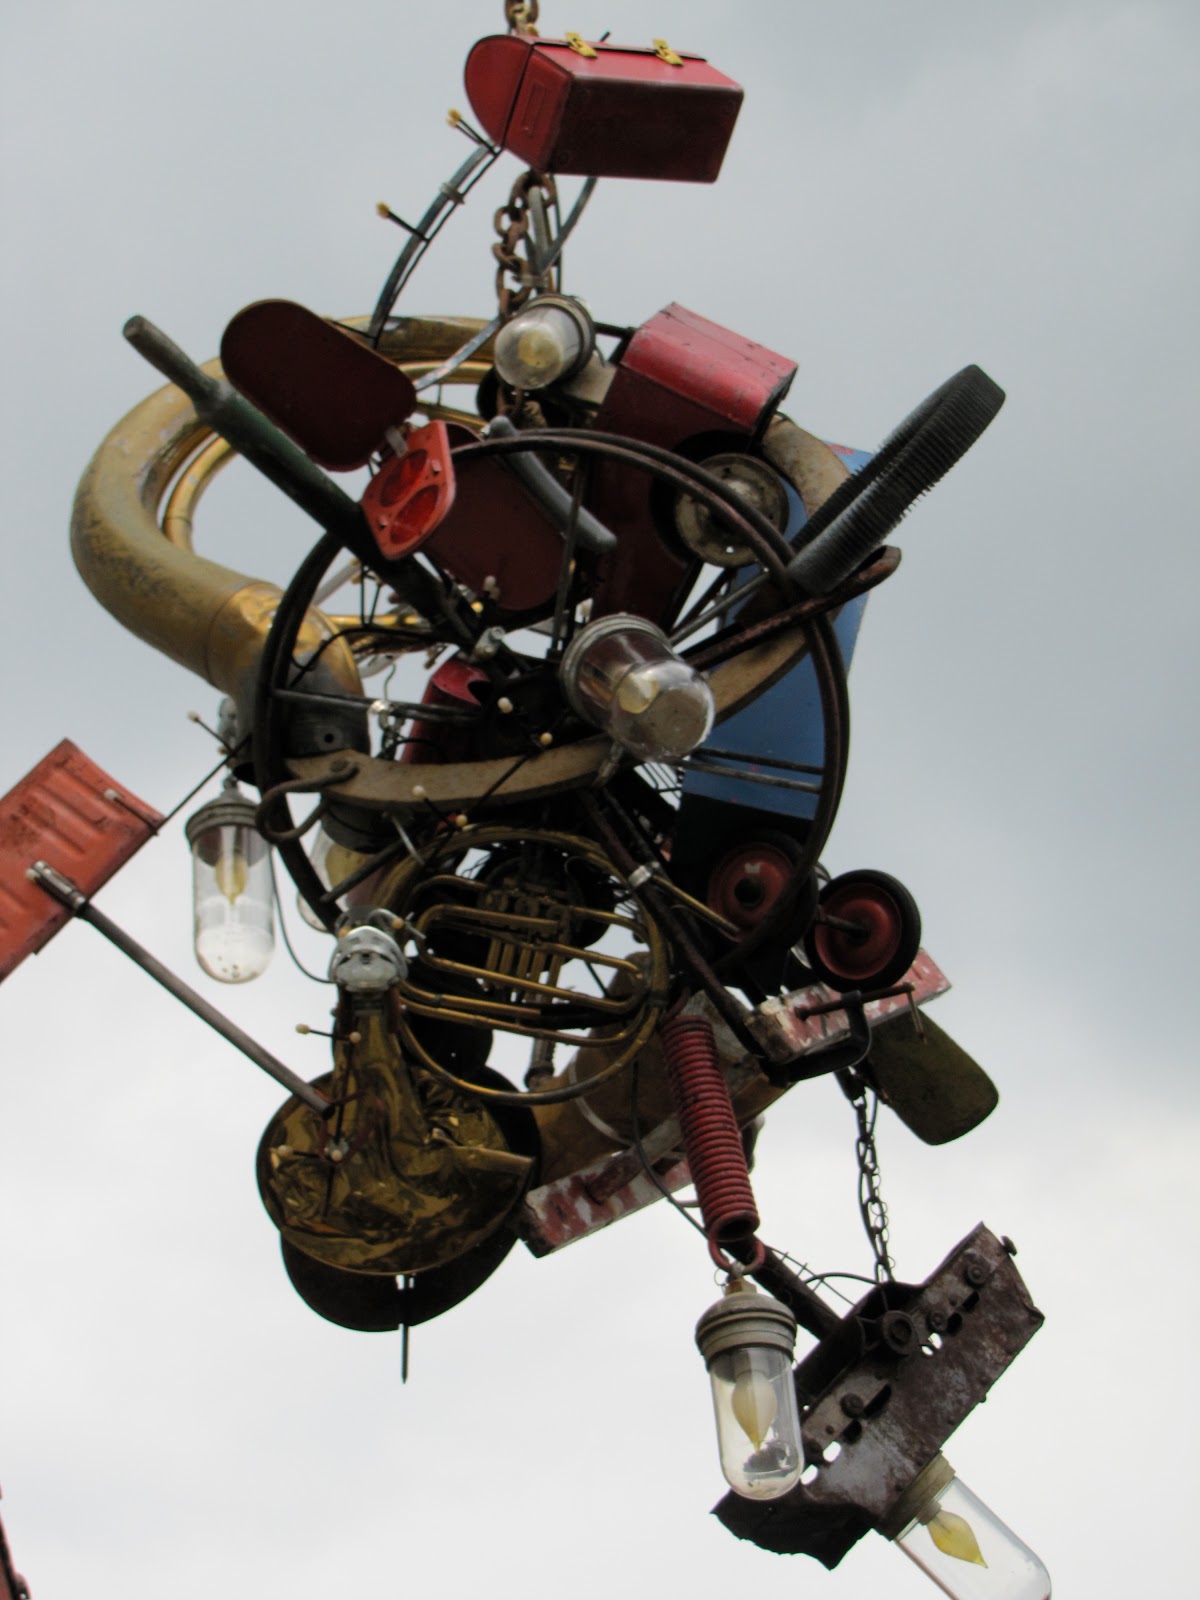
Beautiful art, beautiful furnishings, and amazing trash to treasure light fixtures and sculptures. This is excerpted from their website "Warren Muller’s sculptures radiate more than just light when displayed in the context of a home, office, restaurant or retail space. Infused with meaning, they convey a sense of excitement and delight to both our clients and their guests alike. With his partner, Interior Designer RJ Thornburg, Warren has collaborated on projects that include the Fort Worth Museum of Science & History, Digitas Healthcare and the Westin Hotel in Philadelphia."
IMG_0084.jpg


IMG_0085.JPG


IMG_0086.JPG


IMG_0088.JPG


Here's a picture of the shop in the back with shelves of cool stuff. This place is truly a hoarder's delight.

IMG_0077.jpg


This hangs outside above the door.

IMG_0095.jpg


The doors themselves are super cool, obviously salvaged. I had to photograph them from both sides.

IMG_0096.jpg


IMG_0098.jpg


I hope to make one of their openings which are held on second Thursdays of the month.

I think they inspired this little installation which my sister helped me hang in my dining room window the same week. I was also inspired by my friend Delainey Barclay, whose installation I wrote about here.

IMG_1319.jpg

Monday, May 3, 2010

Silk Sculpture Progress

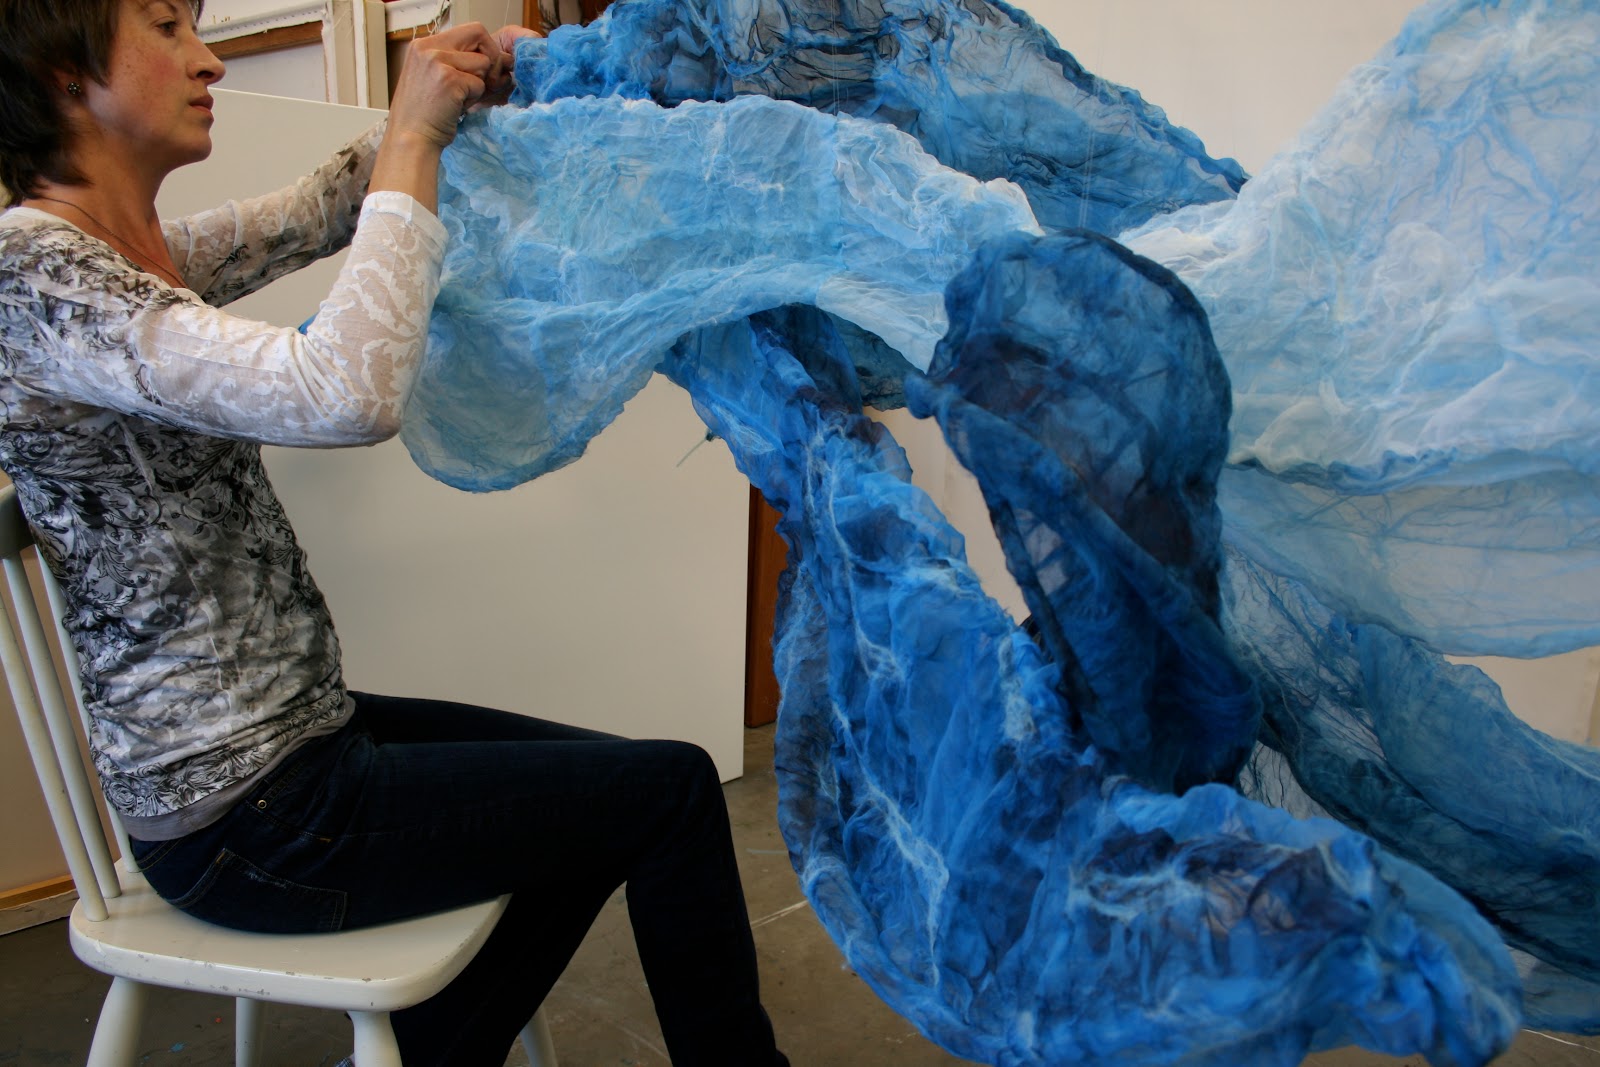
I've been working on a silk sculpture for my June show in the Elizabeth Denison Hatch Gallery at the Delaware Center for the Contemporary Arts in Wilmington, DE. It's coming along. I'm planning to show this with a new large diptych oil painting.

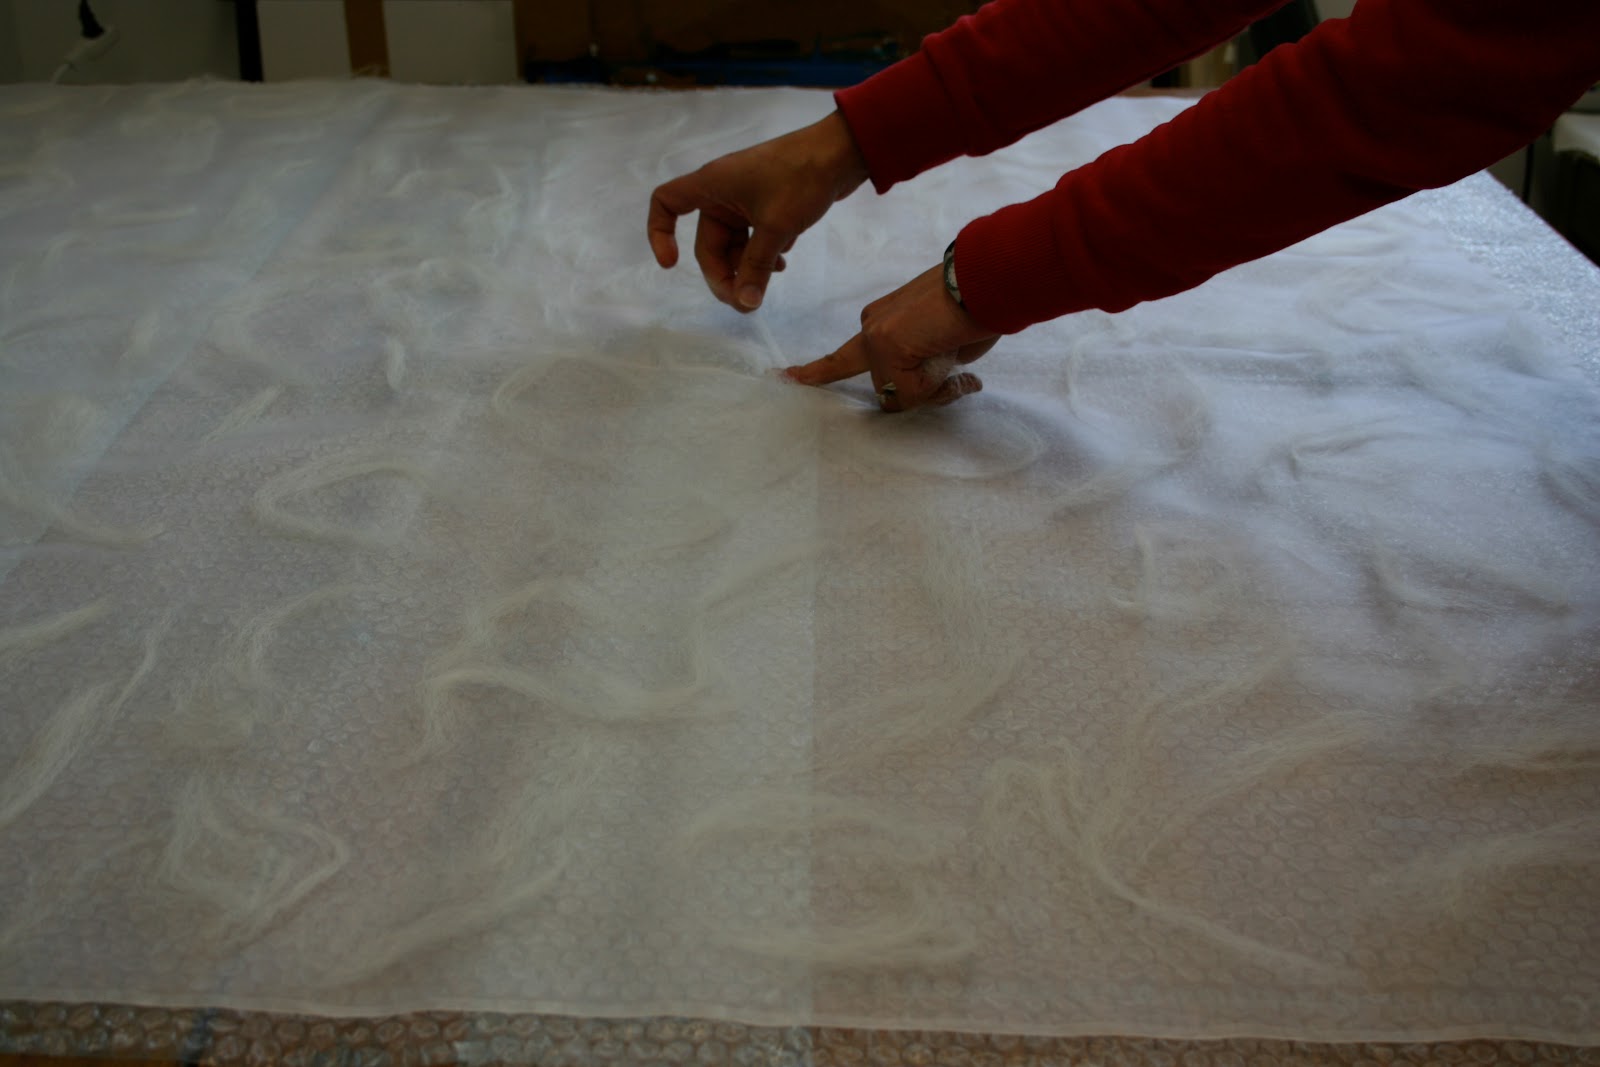
I thought I'd show you what goes into making this piece. I start with silk organza and nuno felt it with off white wool. Here I'm laying out the wool.
IMG_1167.JPG


Here I'm drizzling warm soaping water over it until it's soaked.

IMG_1169.JPG


It's a little hard to see white on white so I also photographed the same process with turquoise wool.

IMG_1240.JPG


Next I cover it with another layer of bubble wrap and roll it up.

IMG_1170.JPG


I wrap it in a towel and roll it back and forth.
IMG_1171.JPG


Then I unroll it and rub my hands over the back of the silk further working the wool fibers through the silk. In this part of the process I can actually see the wool fibers coming through to the back of the silk.

IMG_1172.JPG


After that comes the fun part, I rinse the soap out and throw it on the table with force at least 200 times. It's called felling and it shrinks and compacts the wool which in turn makes the silk crinkle.

IMG_1176.JPG


IMG_1177.JPG


It's time to dye it in a puddle of dye and let it dry untouched for a few days. Here it is dry.

IMG_1183.JPG


I have to steam it before I cut out the pieces.

IMG_1190.JPG


IMG_1191.JPG


Here's a stack of the pieces ready to be sewn together.

IMG_1187.JPG


I've sewn them together, put wire in the seams and hung them up in my studio.
IMG_1249.JPG


I'm working on color and composition issues but in 3 dimensions, instead of 2 which is a whole different ballgame. I'm trying to find the balance between too much, and too little. Then, there's the whole logistical issue of how to hang it.

Here I played around with adding the bubble silk to it. I'm going to make some pieces with smaller bubbles in a lighter color. I have a lot of work left to do! If you're in the Wilmington area I'll have my studio open this Friday from 5-9 pm at the DCCA.
IMG_1258.JPG